This website may earn commissions from certain purchases via the Amazon Associates program at no cost to you.
Key Takeaways:
- Proper chuck tightening with even pressure prevents bit slippage and extends both chuck and bit life substantially. Material-specific speed selection is essential, with slower speeds for metal with cutting fluid and higher speeds for wood producing dramatically better results.
- Workpiece securing eliminates the majority of serious drilling injuries and takes only seconds per operation.
- Heat management through pecking, bit rotation, and proper cooling extends bit life by 300-400 percent. Hand positioning protocols that account for reverse-torque protect against the most common drilling injuries.
- Breakthrough control with reduced feed pressure and backing boards produces clean exit holes without tear-out.
- Fatigue contributes more to accidents than inexperience, making regular breaks essential during extended drilling sessions.
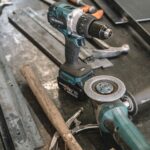
For years I have worked with drills in professional and personal settings, from construction sites to my home workshop. Today I am sharing the tips that have kept me safe and helped me produce consistently clean, accurate holes across every material imaginable.
There are honestly so many factors that can affect drilling safety and precision. Things like proper chuck installation, material selection, and even the time of day you drill.
With just a few techniques you can dramatically improve both your safety record and the quality of your drilling results.
Understanding Why Most Drilling Accidents Happen
The really counterintuitive thing about drilling accidents is that they occur most often during routine tasks, not complex ones. I have seen this pattern repeatedly in workshops and job sites.
When you are drilling your hundredth hole of the day into a simple piece of pine, your mind wanders. That is exactly when the bit catches an edge you did not account for, or your hand drifts closer to the spinning chuck than it should.
Fatigue contributes more to drilling accidents than inexperience, and that is supported by research showing accident spikes after about 30 minutes of continuous drilling work. Your physical coordination decreases, your decision-making slows down, and suddenly that simple operation becomes genuinely dangerous.
I have learned to build in structured breaks every 25-30 minutes during extended drilling sessions, even when I feel totally fine. The data does not lie about this.
My productivity actually increases when I take regular breaks because I maintain consistent accuracy and avoid mistakes that need rework.
The gap between knowing safety rules and following them is probably the biggest safety challenge in drilling. Everyone knows you should never hold a workpiece by hand while drilling.
Everyone.
Yet walk into any active workshop and you will catch someone doing exactly that because it feels faster or because the piece seems too small to bother clamping. That convenience calculation has caused more injuries than I can count, and I have been guilty of it myself in my early years.
The mental shortcuts we take during familiar tasks create the conditions for accidents. Your brain switches to autopilot mode, bypassing the conscious safety checks that keep you protected. I combat this by verbalizing my safety checks out loud before each drilling operation.
It sounds ridiculous, but saying “workpiece secured, hands clear, eye protection on” forces my brain to engage consciously with each safety element.
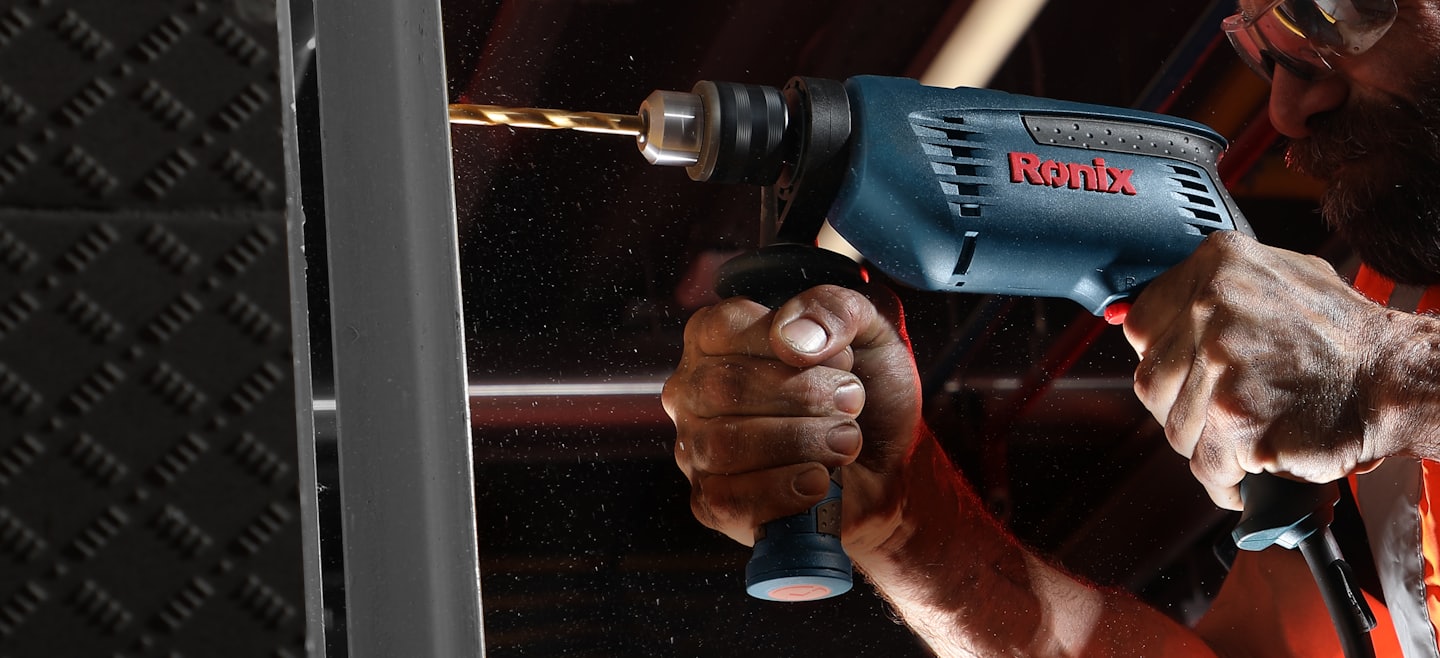
The Chuck Tightening Technique Nobody Teaches Properly
Let me share something that took me years to learn correctly. When you install a drill bit in the chuck, you tighten it until it feels snug, then you give it one more firm turn.
Most people either under-tighten, which allows the bit to slip during operation, or they over-tighten, which damages both the chuck and the bit over time.
The over-tightened chuck puts uneven pressure on the bit shank, potentially causing the bit to break during high-torque operations or creating wobble that ruins hole accuracy. I learned this when I kept breaking expensive bits until an old-timer showed me the proper technique.
For keyless chucks, I hold the chuck body with one hand while rotating the drill body with the other to achieve final tightening. This distributes force evenly around all three jaws.
The two-handed technique gives you much better control over the tightening force compared to trying to muscle it with one hand.
With keyed chucks, I insert the key in each of the three holes and tighten in sequence instead of just using one position. This ensures even jaw pressure all around the bit.
The difference in bit performance and chuck longevity is really significant when you do this correctly.
When removing bits, always let the chuck cool if you have been drilling for extended periods. Hot metal expands, and trying to loosen a hot chuck often damages the mechanism.
I have replaced too many chucks because I rushed this step early in my career.
Now I keep a small fan running in my workshop that provides cooling between operations.
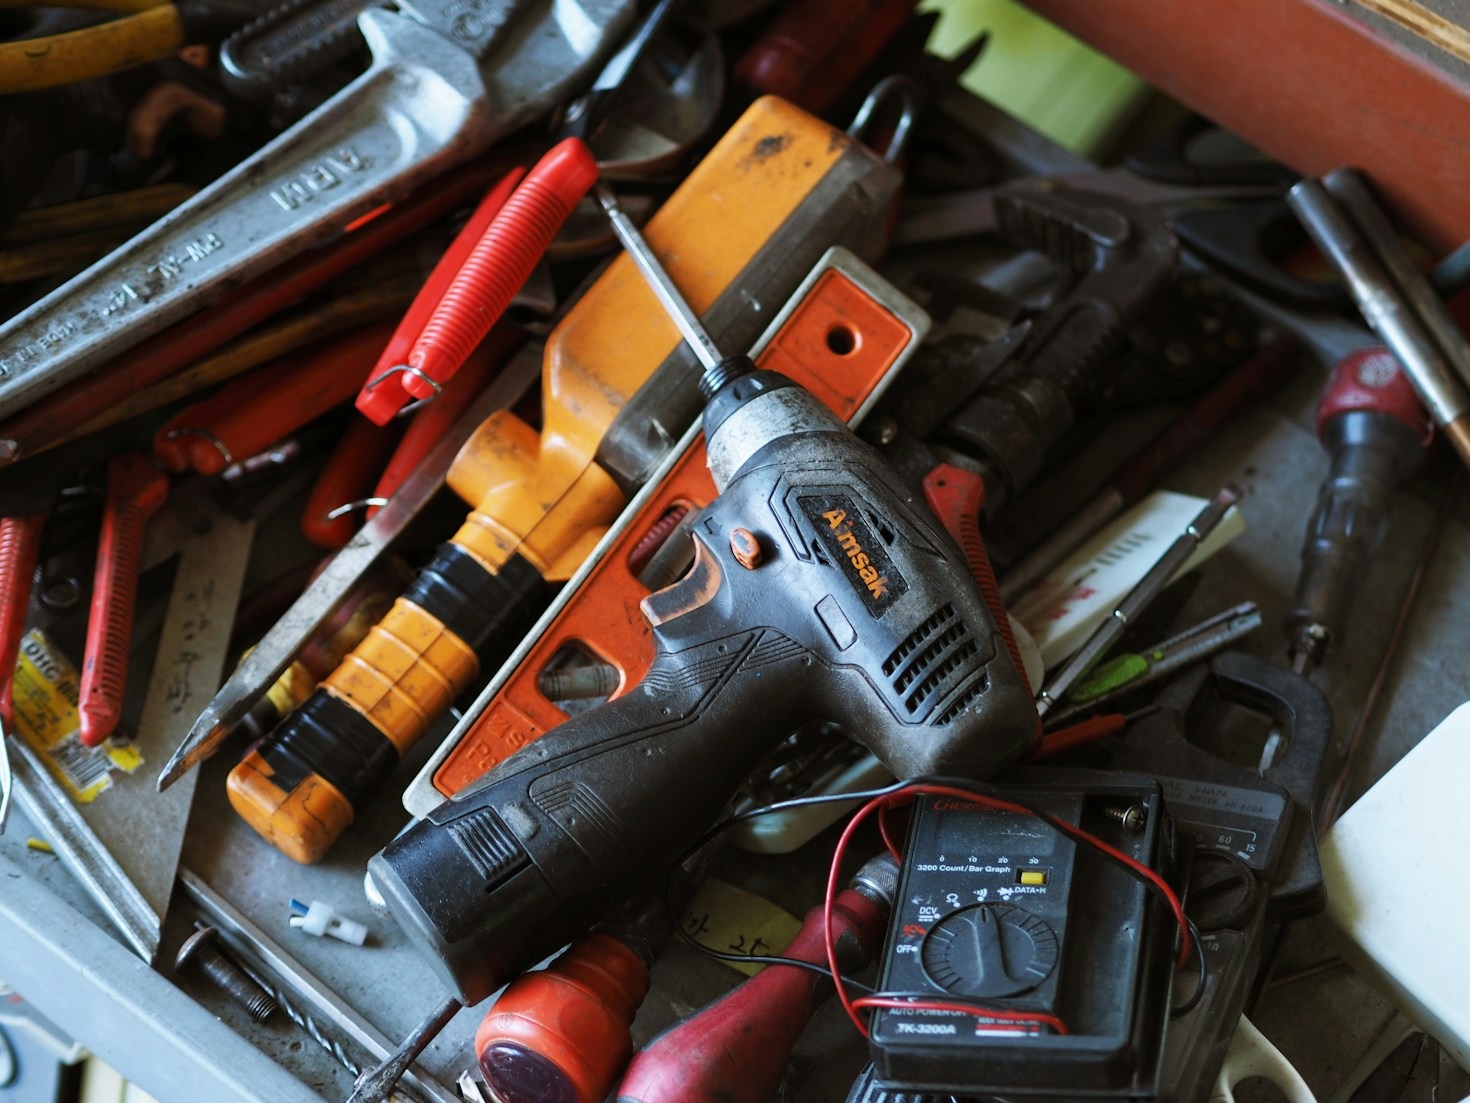
Another thing most people miss is keeping the chuck clean. Metal shavings, sawdust, and cutting fluid residue accumulate inside the chuck mechanism, causing uneven jaw movement and reduced gripping force.
Every few weeks, I fully open the chuck and blow it out with compressed air, then wipe the jaws with a clean rag.
This simple maintenance step extends chuck life by years.
Material-Specific Speed Selection Makes All the Difference
Here is where drilling gets really interesting. The material you are drilling dictates everything about your approach, and most people get this backwards by using the same technique for every material.
For wood drilling, I use higher RPM settings, typically 1500-3000 RPM depending on bit size. The faster rotation produces cleaner cuts through wood fibers with less tear-out.
Brad-point bits work exceptionally well here because the sharp center point positions the bit precisely before the cutting edges engage.
I always drill from the good side when appearance matters, as the entry hole will be cleaner than the exit.
The feed rate matters just as much as the rotation speed. With wood, I apply steady, moderate pressure, letting the bit pull itself through the material. You can actually feel when you have the right pressure because the drilling feels smooth and the chips coming out are consistent in size.
Metal drilling requires exactly the opposite approach. I drop my drill press down to 500-1000 RPM for steel, sometimes even slower for harder metals.
The slower speed prevents overheating, which would dull the bit within seconds.
High-speed steel bits work for most metals, but when I am drilling stainless steel or other tough materials, cobalt bits are absolutely worth the extra cost. They hold their edge much longer and produce cleaner holes.
The really critical part with metal is applying cutting fluid continuously. I keep a small bottle with a pointed applicator tip right next to my drill press.
Every few seconds during the drilling process, I apply more fluid directly to the bit-metal interface.
This single practice extends bit life by 300-400 percent and produces dramatically cleaner holes. The fluid serves dual purposes as both lubricant and coolant, reducing friction and carrying heat away from the cutting edge.
For masonry and concrete, I switch to carbide-tipped bits and use hammer drill mode if available. The percussive action breaks up the hard aggregate while the bit rotates.
I drill in short bursts instead of continuous pressure, allowing the dust to clear from the hole and preventing the bit from overheating.
Every 10-15 seconds, I withdraw the bit completely to clear debris. This pecking technique is essential for deep holes in masonry.
Plastic materials need their own specialized approach. Medium speeds work best, typically 1000-1500 RPM.
Too fast and the friction melts the plastic, which then re-solidifies around your bit and creates a real mess.
Too slow and the bit tends to grab and crack the material. I use sharp bits specifically designated for plastic work because they have different cutting angles than wood or metal bits.
The Real Benefits of Drilling Slower
This concept changed my entire approach to drilling. Drilling slower produces better results in almost every situation.
When you push too hard or run the drill too fast for the material, you generate excessive heat, dull the bit faster, and often create rough, inaccurate holes.
I learned this the hard way drilling dozens of holes through half-inch steel plate. My first approach was to really lean into it, forcing the bit through as quickly as possible.
The bits lasted maybe 10-15 holes before becoming useless.
When I slowed down, reduced pressure, and let the drill do the work at lower RPM with plenty of cutting fluid, the same bits lasted 60-80 holes. The holes were also more accurate and required less deburring afterward.
This principle applies across materials. Work hardening occurs when the heat and pressure from drilling changes the metal’s crystalline structure, making it harder and more brittle in that area.
The patience required for proper drilling speeds has been one of my hardest lessons. Everything in modern work culture pushes toward speed and efficiency, but drilling punishes haste directly and immediately.
The fastest way to finish a drilling operation is actually to go slowly and do it right the first time.
Securing Workpieces Without Compromise
The most critical safety practice in all drilling operations is proper workpiece securing, yet this is where I see the most shortcuts. Holding material by hand while drilling creates many simultaneous hazards that compound each other in dangerous ways.
When a drill bit catches in material, which happens more often than people expect, the workpiece rotates violently. If you are holding it, your hand goes with it.
I have seen serious wrist injuries, broken fingers, and deep lacerations from this exact scenario.
The torque from even a small hand drill is substantial when a bit suddenly binds.
For small to medium pieces, I use C-clamps or quick-clamps to secure the workpiece to my work surface. I position clamps so they are not in the drilling path but close enough to prevent any movement.
The workpiece should not shift even slightly when you apply drilling pressure.
For really small pieces, I clamp them inside a larger piece of scrap wood, which gives me more clamping surface and protects my work surface from drill breakthrough. This scrap wood technique also prevents the workpiece from splintering when the bit exits.
On the drill press, I use the built-in vice whenever possible. The vice jaws distribute pressure evenly and position the work at the perfect height.
For larger pieces, I have built custom hold-down clamps that attach to the drill press table slots, allowing me to secure odd-shaped workpieces safely.
The key insight here is that securing takes maybe 30-45 seconds, while recovering from an injury takes weeks or months. That time calculation is really straightforward once you think about it objectively.
Yet I still catch myself occasionally thinking about taking shortcuts, which shows how persistent these mental patterns are.
Managing Drill Bit Heat During Extended Operations
Drill bit overheating degrades performance immediately and permanently damages bits over time. The metal loses its temper, meaning the carefully engineered hardness that allows it to cut effectively is destroyed. An overheated bit never performs the same again, even after cooling.
I watch bit temperature by touch between holes. If the bit is too hot to touch briefly, it needs cooling or lubrication before continuing.
For wood drilling, I keep a small fan pointed at the work area to improve air circulation.
The moving air makes a surprisingly big difference in bit temperature.
For metal, the cutting fluid does double duty as both lubricant and coolant. I am generous with cutting fluid application because it pays for itself many times over in extended bit life and better hole quality.
During production drilling where I am making dozens of identical holes, I rotate between two or three bits of the same size. While one is drilling, the others are cooling.
This seems inefficient initially, but the extended bit life and consistent hole quality more than compensate for the extra bit cost.
Pecking is another heat management technique I use extensively, especially in deep holes. Instead of drilling continuously to full depth, I drill about half an inch, withdraw the bit completely, then drill another half inch.
This clears chips from the hole and allows both the bit and material to cool briefly between cutting cycles.
The chips themselves act as insulators when they pack into the hole, so clearing them regularly keeps temperatures manageable.
Hand Positioning That Prevents Accidents
I have developed a really specific protocol for hand positioning that has prevented countless close calls over the years. With hand drills, I always use both hands on the tool itself, never using one hand to steady the workpiece.
My dominant hand controls the trigger, while my support hand braces the drill body to counter the rotation torque. This two-handed grip gives you much better control when unexpected binding occurs.
I position my body so that if the drill suddenly binds and rotates, the motion moves away from my body instead of toward it. This seems like a small detail, but it determines whether a binding incident becomes a minor inconvenience or a serious injury.
I stand slightly to the side of the drilling line as opposed to directly behind the drill.
With drill presses, I keep both hands on the workpiece securing system or the feed handles, never reaching toward the spinning bit for any reason. If I need to clear chips or apply cutting fluid while the bit is spinning, I stop the drill first.
That extra two seconds is really insignificant compared to the injury risk.
The moment you feel fatigue in your hands or arms, that signals time for a break. Reduced grip strength and slower reaction times both increase accident risk substantially.
I have learned to recognize that sensation and immediately stop for at least five minutes, even if I am in the middle of a series of holes.
Dealing With Reverse-Torque Events
Reverse-torque happens when a drill bit suddenly catches in material and the reactionary force tries to spin the drill body instead of the bit. This is particularly dangerous with hand drills because the entire tool becomes a rotating hazard in your hands.
The key to handling reverse-torque safely is grip technique and anticipation. I hold hand drills firmly but not rigidly, allowing some movement if sudden torque occurs.
A death grip on the drill actually increases injury risk because the sudden force has to go somewhere, and it goes into your wrists and forearms.
I also position the drill so that if reverse-torque occurs, the rotation will push my hands away from the workpiece instead of into it. This requires thinking about the drilling direction and bit rotation before starting each hole.
The rotation direction determines which way the tool will kick if binding occurs.
When drilling large holes or using hole saws, reverse-torque risk increases dramatically. For these operations, I always use the side handle if my drill has one, providing a secondary grip point that distributes force across both hands.
I also reduce drill speed significantly, giving myself more reaction time if the bit binds.
Starting holes at very low speed until the bit is fully engaged reduces reverse-torque incidents substantially. Once the bit is cutting a full circle, you can increase to working speed with much less risk of sudden binding.
Breakthrough Control Techniques
The moment when a drill bit breaks through the back side of material is when many problems occur. The bit suddenly has no resistance, which can cause tear-out, workpiece movement, or loss of drill control.
My technique for clean breakthrough is to reduce feed pressure significantly when I sense the bit nearing the back surface. I can feel the resistance change about 1/8 inch before full breakthrough.
At that point, I let the bit cut at its own pace with minimal forward pressure.
For appearance-critical work, I drill from both sides when possible. I drill from one side until the pilot point just barely emerges, then flip the workpiece and drill from the opposite side, using the pilot hole as a guide.
This produces clean entry and exit holes with zero tear-out.
With thick materials where drilling from both sides seems impractical, I clamp a backing board flush against the exit surface. The backing board supports the material fibers at the exit point, preventing tear-out.
I use this technique extensively when drilling hardwoods or laminated materials.
The backing board needs to be the same material or harder than what you are drilling for this to work effectively.
Another breakthrough technique I use for metals is stopping just before full penetration, flipping the workpiece, and finishing from the other side. This creates two clean edges instead of one clean entry and one rough exit.
Frequently Asked Questions
What speed should I use for drilling metal?
For most metals, you want to use slower speeds than you would for wood. Steel typically requires 500-1000 RPM, depending on bit size and the specific metal hardness.
Harder metals like stainless steel need even slower speeds, sometimes down to 300-400 RPM.
The key is using plenty of cutting fluid and letting the bit do the work without forcing it. If you see the bit smoking or turning blue, you are going too fast.
How do you prevent drill bits from overheating?
The main ways to prevent overheating are using suitable speeds for your material, applying cutting fluid continuously when drilling metal, and using the pecking technique for deep holes. Pecking means drilling in short bursts, withdrawing the bit completely between each burst to clear chips and allow cooling.
For production drilling, rotating between many bits of the same size keeps each one cooler.
Should you use a hammer drill for wood?
No, hammer drills are designed specifically for masonry, concrete, and stone. The percussive action that helps break up hard aggregate will just damage wood and make rough, oversized holes.
For wood, use a standard drill or drill press with brad-point or twist bits at higher speeds.
What causes a drill to kick back?
Kickback or reverse-torque happens when the drill bit suddenly binds in the material, causing the drill body to rotate instead of the bit. This occurs most often when the bit catches on the exit side of the hole, when drilling large diameter holes, or when using dull bits.
Proper workpiece securing, suitable speeds, and sharp bits all reduce kickback risk.
How tight should you tighten a drill chuck?
You want the chuck snug enough that the bit cannot slip during operation, but not so tight that you damage the chuck mechanism or bit shank. For keyless chucks, use both hands for final tightening.
For keyed chucks, tighten in all three holes sequentially as opposed to just one.
The bit should not move at all when you try to rotate it by hand.
Can you drill metal without cutting fluid?
You can drill soft metals like aluminum without cutting fluid, though the bit will last longer if you use it. For steel and harder metals, cutting fluid is really essential.
Without it, the bit overheats rapidly, loses its temper, and becomes permanently dull within seconds.
The small cost of cutting fluid pays for itself many times over in extended bit life.
What is the pecking method in drilling?
Pecking means drilling in short increments as opposed to continuously to full depth. You drill about 1/2 inch, withdraw the bit completely, then drill another 1/2 inch.
This technique clears chips from the hole, prevents bit overheating, and reduces binding in deep holes.
Pecking is essential for deep holes in metal and highly recommended for masonry drilling.
Why do my drill holes have rough edges?
Rough edges usually come from one of several issues: dull bits, inappropriate speeds for the material, poor breakthrough technique, or using the wrong bit type. Wood holes get rough when you drill too fast or the bit is dull.
Metal holes get rough when you drill too fast without cutting fluid.
Using a backing board and reducing pressure as you near breakthrough dramatically improves edge quality.