This website may earn commissions from certain purchases via the Amazon Associates program at no cost to you.
We’ve all been there. You’ve measured twice, leveled your bracket, and pressed the drill trigger with a mix of excitement and nerves. Then, it happens: the drill bit resists for a fraction of a second before suddenly “plunging” into the wall, spinning freely in empty air.
That sinking feeling—the realization that you’ve just put a useless hole in your pristine drywall—is a rite of passage for every DIYer. But here is the truth: missing a stud isn’t a failure; it’s just a data point.
Whether you are mounting a 65-inch TV, hanging a heavy nursery shelf, or securing a mirror that’s been leaning against the baseboard for months, this guide will show you how to find the wood every time—and exactly how to recover if you don’t.
The Preparation: Tools for a “First-Time Hit”
Most people rely solely on a $15 battery-operated stud finder that beeps at everything from a spiderweb to a ghost. To drill with confidence, you need a multi-layered approach.
Beyond the Stud Finder: Using Magnets and Cues
Cheap stud finders often give “false positives” by picking up on thick clumps of joint compound or edge-of-stud shadows.
- The Rare-Earth Magnet Trick: Drywall is held onto studs with metal screws. If you slide a strong neodymium (rare-earth) magnet across the wall in a horizontal “S” pattern, it will eventually “snap” onto a screw head. Since that screw is buried in the center of a stud, you’ve found your target with 100% certainty.
- The Tap Test: Knocking on the wall isn’t just for show. A hollow sound means empty space; a dull, solid “thud” indicates you’re over a stud.
Standard Stud Spacing: The 16-Inch Rule
In the vast majority of modern homes, studs are spaced 16 inches apart (on-center). Once you find one stud using a magnet or finder, pull your tape measure 16 inches to the left or right. This gives you a “predicted” zone, allowing you to verify your findings rather than guessing blindly.
Step-by-Step: How to Drill into a Stud Like a Pro
Drilling into a stud isn’t just about force; it’s about finesse and “reading” the materials as you go.
1. Selecting the Right Pilot Bit
Never drive a large screw directly into a stud without a pilot hole; you risk splitting the wood, which ruins the stud’s holding power.
- The Rule: Choose a drill bit that is slightly smaller than the shank (the solid center) of your screw. When you hold the bit in front of the screw, you should see the screw threads poking out past the sides of the bit, but the solid core should be hidden.
2. The “Slow-Start” Technique
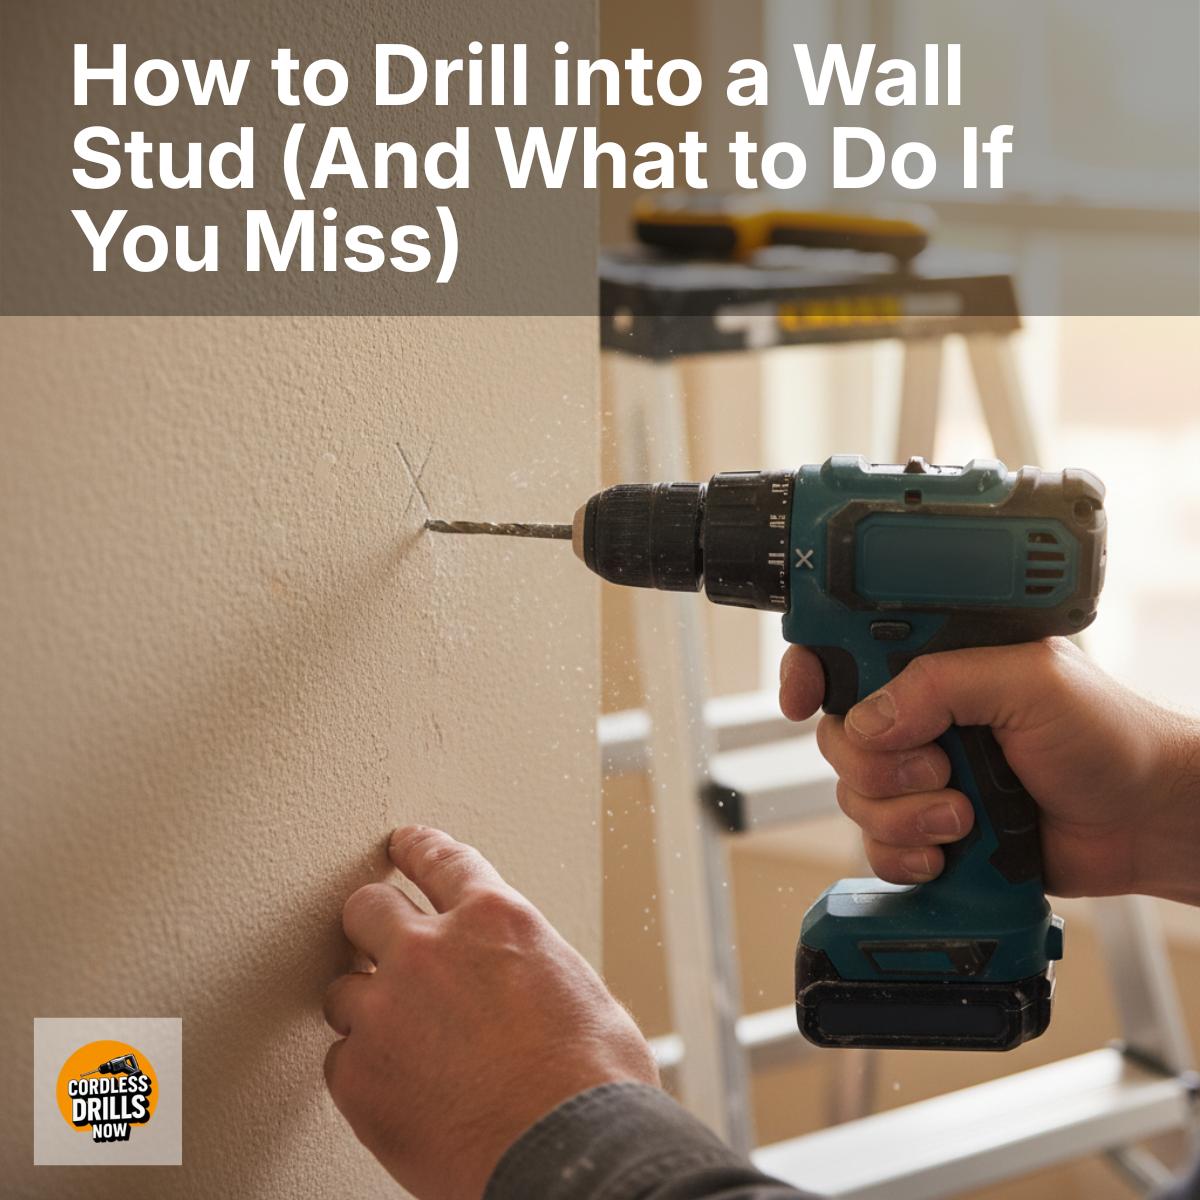
Position your bit on your mark. If you go “full throttle” immediately, the bit will “walk” or skid across the drywall, leaving a nasty scar. Start the drill at its lowest speed, applying firm pressure until the tip of the bit bites through the paper layer of the drywall.
3. Detecting a “Hit”: Resistance and Wood Shavings
This is the sensory experience of a successful hit.
- The Feel: Once the bit passes through the 1/2 inch of soft drywall, you should feel a significant increase in resistance. The drill motor might even change pitch (dropping to a lower hum) as it works harder.
- The Sight: Pull the bit out. If you see light-colored wood curls or “cinnamon-like” shavings in the flutes of the bit, congratulations—you’ve hit solid timber.
The “Oh No” Moment: What to Do If You Miss the Stud
You pushed, the drill plunged, and there is no wood on the bit. Take a breath. Here is your diagnostic and recovery protocol.
Diagnosing the Miss: Did You Hit Empty Space or a Utility?
Before you try again, evaluate what happened using this Sensory Discovery Chart:
| What it Feels Like | What You Likely Hit | Action Step |
|---|---|---|
| Sudden Plunge | Empty Wall Cavity | Safe to proceed with “The 1/2-Inch Rule.” |
| High-Pitched “Zing” / Chatter | Metal Stud or Nail Plate | STOP. You may be hitting a protective plate over a wire. |
| Slick / Waxy Resistance | PVC Pipe (Plumbing) | STOP. Do not force it. Move your hole at least 2 inches. |
| Gritty / Crunchy | Plaster & Lath | Traditional older wall; requires specialized bits. |
The 1/2-Inch Rule: Finding the Stud Edge
If you missed, the stud is likely less than an inch away. Take a small finishing nail and tap it into the wall 1/2 inch to the left of your hole, then 1/2 inch to the right. When the nail refuses to go in further than the drywall thickness, you’ve found your stud. Use this to re-center your bracket.
When to Stop: Red Flags for Wires and Pipes
If you feel hard resistance before you reach the 1/2-inch depth of the drywall, you are likely hitting a nail plate. Electricians and plumbers install these steel plates to prevent DIYers from drilling into wires or pipes. If you hit metal, do not try to “power through” it. Move your hole vertically or horizontally by at least two inches.
How to Repair a Missed Hole (The “Same-Day” Fix)
You don’t need to wait 24 hours for a repair. You can fix the mistake and finish your project in the same afternoon.
The 5-Minute Spackle Method
For small pilot hole misses, use a “shrink-free” lightweight spackle (the kind that goes on pink and dries white).
- Press a pea-sized amount into the hole with your thumb.
- Wipe the excess with a damp paper towel.
- By the time you’ve finished mounting your project on the actual stud, the hole will be dry and ready for a tiny dab of touch-up paint.
Pivot Strategy: Switching to a Drywall Anchor
If your project is lightweight (like a picture frame) and you missed the stud, don’t drill a new hole. Expand your “mistake hole” to fit a heavy-duty toggle bolt or a threaded drywall anchor. A 3/16-inch toggle bolt can hold up to 50+ lbs in 1/2-inch drywall, allowing you to use your original placement without the stud.
Pro Tips for Heavy Mounting (TVs & Large Mirrors)
What to Do if You Hit the Edge of a Stud
If your screw starts to go in but then pulls the bracket to one side, you’ve likely hit the “shoulder” or edge of the stud. This is dangerous because the screw can easily “blow out” the side of the wood, providing zero support.
- The Fix: Back the screw out, re-drill your pilot hole at a slight inward angle toward the center of the stud, and drive the screw back in.
Using a “Header” Board for Tough Alignments
Sometimes, your studs are 16 inches apart, but your TV bracket holes are 12 inches apart. Instead of mounting only one side to a stud, mount a “header” board (a piece of 1×4 or 3/4-inch plywood) across two studs first. Then, screw your bracket into the header board wherever you need it. It’s an ultra-secure, pro-level workaround.
Frequently Asked Questions
Can I drill a stud above an electrical outlet?
Yes, but be extremely careful. Wires usually run vertically alongside the stud that the outlet box is attached to. Drill your pilot hole slowly and never go deeper than 1.5 inches.
What if I hit a metal stud?
Common in condos and apartments. Wood screws won’t work here. You must use self-tapping metal screws or specialized toggle bolts designed for metal tracks.
Is a “spinning screw” a sign I missed?
Usually, yes. If the screw goes in but keeps spinning without ever “tightening up,” you have either missed the stud or stripped the wood. If you’re sure you’re in wood, you’ll need to use a slightly thicker screw to get a new “bite.”
Mounting something heavy? Check out our guide on the Best Drywall Anchors for Heavy Mirrors if you decide to skip the stud entirely.